This tutorial will demonstrate how to use a JS object to create a "customized" object.
Project Design
-
A JS object that will be customized as a simple Toggle Switch object.

JS Object Settings
-
In the [Config] settings page, add a Subscription named 'readAddressSub':
- This represents the Read address of the Toggle Switch object.
- Set the address to LB-100, with a length of 1.
-
In the [Config] settings page, add an Address named 'writeAddress':
- This represents the Write address of the Toggle Switch object.
- Set the address to LB-100 (the same as the Read address).

-
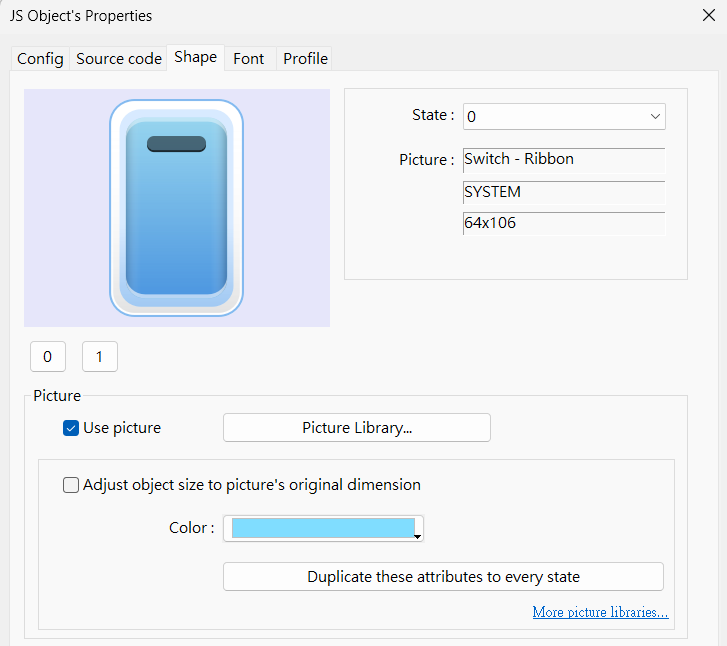
In the [Shape] settings page, select an image from [System Switch] picture library.

Source Code
// Use Subscription to monitor data changes at the Read address
this.config.readAddressSub.onResponse((err, data) => {
  if (err) {
    console.log('[response] error =', err.message);
  } else {
    // Based on the data from the Read address, set the JS object's current state to 0 or 1
    this.state = (data.values[0]) ? 1 : 0;
  }
});

// Create a MouseArea widget
var ma = new MouseArea();
this.widget.add(ma);

// When the MouseArea emits a 'click' event, perform the following action:
// - If the JS object's current state is 0, write 1 to the Write address; otherwise, write 0.
ma.on("click", (mouseEvent) => {
  driver.setData(this.config.writeAddress, (this.state == 0) ? 1 : 0);
});
Execution Result
- In the simulation, press the JS object and observe whether its behavior aligns with the "Toggle Switch" behavior in EB Pro.
Explanation
- This tutorial uses a common Toggle Switch to demonstrate how to "customize" a JS object, simplifying the concept for readers. However, in practice, you should design the behavior of the JS object based on the "real-world scenario".
- When using this customized Toggle Switch object, 'readAddressSub' and 'writeAddress' can be assigned different device addresses. (This is equivalent to the [Read/Write use different addresses] property of the EB Pro [Toggle Switch] object.)